
Providing for your family, and putting meat on the table for your friends and loved ones is one of the greatest outcomes of deer hunting.
It’s a grueling process, but once your animal is down you’ll need to get to work on processing it’s meat. Below you’ll get expert advice on everything from field dressing to safe handling and even a few delicious recipes to complete the experience.
A Hunter’s Guide: How to Field Dress a Deer
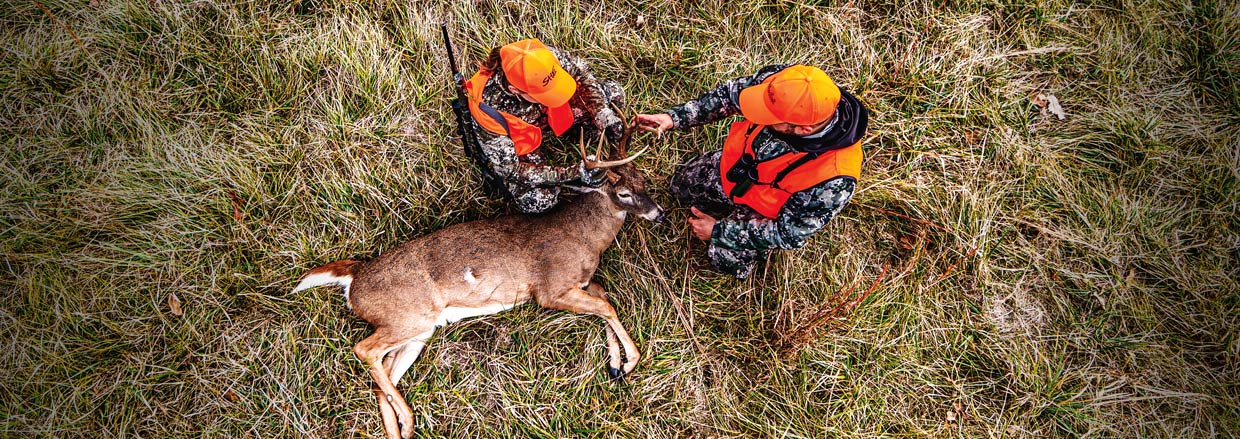
Step-by-Step Guide to Field Dressing a Deer
The key to efficient field dressing is having the right tools. Field dressing the game properly allows the meat to cool and stop bacterial growth. Here’s a step-by-step guide on how to safely field dress your game to keep it clean and fresh.
Things to Remember Before Field Dressing
- Check your province guidelines and attach appropriate hunting license tags or permits to your game.
- Pay attention to a broken bone, broadhead or a sharp piece of bullet metal that could be present.
- Make the cuts with the blade moving away from your body.
- Prepare Your Gear: Before you begin to field dress your game, gather all the equipment. Have a sharp hunting knife, latex gloves, a plastic tarp, and clean water for cleaning. Wear gloves and eye protection for your safety.
- Position Your Game: Place the deer on its back with its legs spread apart for stability. This position will allow you to access the abdominal cavity more easily.
- The First Incision: Make a shallow incision along the midline of the belly starting at the base of the deer’s chest and extend to the rib cage. Maintain focus to avoid piercing the intestines or stomach.
- Open the Abdominal Cavity: Use your hunting knife to open the abdominal cavity. Gently pull the skin and flesh apart to expose the organs beneath.
- Remove the Organs: Locate the diaphragm and make precise cuts around it for easy access to the deer’s heart and lungs. Be careful while you remove these organs to avoid puncturing.
- Release the Intestines: You will find the intestines further back into the abdominal cavity. Sever the connective tissues to release them carefully so you don't damage the meat.
- Free the Bladder: Locate the bladder near the pelvis and carefully cut it free. Be cautious to not spill any urine onto the meat.
- Inspect the Meat: Carefully inspect the cavity and check if all organs are removed, leaving only clean and edible meat.
- Rinse the Cavity: Thoroughly inspect the cavity. Use clean water to remove any debris or excess blood and rinse it. This step helps you to preserve the quality of the meat.
- Transport Your Harvest: When your field dressing is complete, transport your deer either by carefully dragging it to a suitable location for further processing or hauling it to your vehicle if it’s too large to move by hand.
Processing
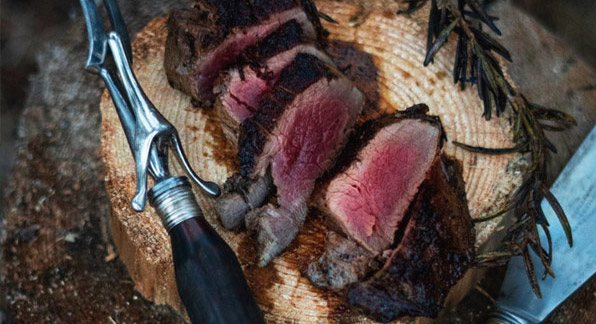
Once your deer carcass has been safely transported to your garage, kitchen or processing facility, the next step is to butcher it and safely store the meat.
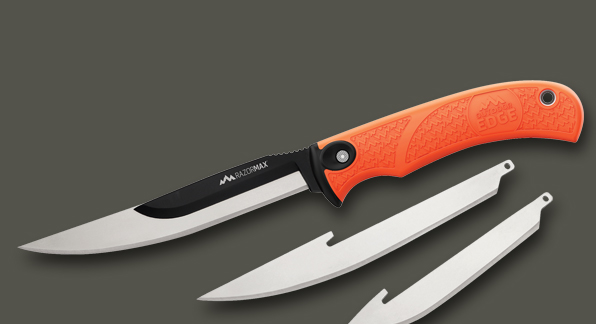
Processing Tools
A list of useful tools to help you process your game like a pro.
Hang Times and Temperatures
- Keep carcass cool during transport and out of sunlight – do not tie across hood or roof of a vehicle
- If butchering yourself or taking to an expert, try to do so as soon as possible
- If processing your own game, try to keep below 4°C
Handling Meat Safely
- During processing, clean knives frequently to avoid contamination
- Wash your knives, hands and cutting boards in hot, soapy water as often as possible
- Store any meat that isn’t being frozen in the fridge for up to three days
- Keep raw meat separated on trays to prevent cross contamination
STORAGE GEAR
- Wax paper
- Freezer wrap
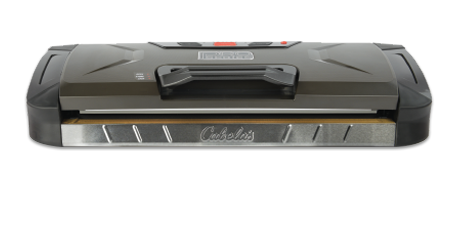
- Vacuum bags and sealer
- Permanent marker for labelling
- A reliable freezer
Storage – Dehydrating Vs. Freezing Vs. Curing
Dehydrating
The oldest method of food preservation, dehydrating removes moisture from food to extend shelf-life and increase portability. Use a dehydrator to make venison jerky, as well as dehydrated fruits and vegetables for your trail mix stash. You can also vacuum seal and freeze dehydrated foods for year-round storage.
Curing
Curing involves adding salt, nitrates, and sugars to draw moisture from food, creating a delicious, flavourful meat that is easily stored. Sausages, bacon and ham are common examples of cured meat.
Freezing/Vacuum Sealing
This involves wrapping your meat in plastic and vacuuming all the air out of the bag, then sealing it. This technique prevents spoilage by inhibiting the growth of bacteria and mold. It also prevents freezer burn so your meat stays fresher for longer.
Food Processing
From vacuum sealers to freezer paper, we got everything for your harvest.
Cuts
Cooking Methods

Food Processing
- Barbecue
- Smoker
- Camp stove
- Kitchen oven
- Tongs
- Spatula
- Oven mitts
- Seasonings and sauces
- Fire extinguisher
- Meat grinder
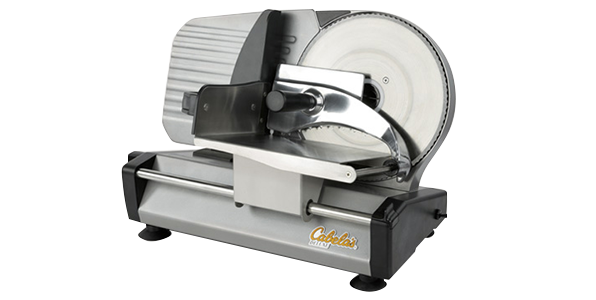
- Meat slicer
- Sausage stuffer
Recipes

Savour the bounty with our favorite venison recipes:
Advanced Big Game
Elk Hunt
A full-grown bull elk can stand as tall as 9 feet, with antlers extending 4 feet above their head. Don’t underestimate the sheer size and weight of these beautiful giants. Hunting elk can be a challenging, but intensely rewarding experience, provided you have the gear and the know-how to get the job done.
Learn more about elk hunting
Moose Hunt
A bull moose in full spread is one of the most imposing animals in the Canadian wilderness. Taller than a saddle horse, large bulls can weigh over 1300 pounds. Hunters who are lucky enough to take down a full-grown moose are rewarded with a ton of great meat!
Learn more about moose hunting
Bear Hunt
An apex predator of the Canadian wild, black bears can weigh up to 900 pounds and boast impressive speed, agility and sense of smell. Take extra care when hunting these majestic creatures. Those who succeed are awarded a beautiful pelt, meat, and a good story or two.
Learn more about bear hunting